Laravel Version
Introduction
Veltrix is built with Laravel 8.* with Laravel Mix provides a clean, fluent API for defining basic webpack build steps for your Laravel application. Mix supports several common CSS and JavaScript pre-processors.
Note: If you are using single mode ( Dark, Light, RTL ) and dont need right side drawer to change layout then please remove css link from resources/views/layouts/heade.blad.php and also remove js code initSettings(); method is declared inside into init() method in the file resources/js/app.js
You need to add these css for specific mode which you want to use in your project so there will be no any extra css files will be loaded.
Light
<link href="{{ URL::asset('assets/css/bootstrap.min.css')}}" id="bootstrap-light" rel="stylesheet" type="text/css" />
<link href="{{ URL::asset('assets/css/icons.min.css')}}" rel="stylesheet" type="text/css" />
<link href="{{ URL::asset('assets/css/app.min.css')}}" id="app-light" rel="stylesheet" type="text/css" />
Dark
<link href="{{ URL::asset('assets/css/bootstrap-dark.min.css')}}" id="bootstrap-dark" rel="stylesheet" type="text/css" />
<link href="{{ URL::asset('assets/css/icons.min.css')}}" rel="stylesheet" type="text/css" />
<link href="{{ URL::asset('assets/css/app-dark.min.css')}}" id="app-dark" rel="stylesheet" type="text/css" />
RTL
<link href="{{ URL::asset('assets/css/bootstrap.min.css')}}" id="bootstrap-light" rel="stylesheet" type="text/css" />
<link href="{{ URL::asset('assets/css/icons.min.css')}}" rel="stylesheet" type="text/css" />
<link href="{{ URL::asset('assets/css/app-rtl.min.css')}}" id="app-rtl" rel="stylesheet" type="text/css" />
Structure
Extract the zip file you received after purchase and you would find the exact below files and folders in Vertical and Horizontal folders:
├── app
├── bootstrap
├── config
├── database
├── public
├── resources
    ├── fonts
    ├── images
    ├── js
    ├── lang
    ├── scss
    └── views
├── routes
├── storage
├── .env
├── composer.json
├── composer.lock
├── package-lock.json
├── package.json
├── server.php
└── webpack.mix.js
Prerequisites
Please follow below steps to install and setup all prerequisites:
-
Nodejs
Make sure to have the Node.js installed & running in your computer. If you already have installed Node on your computer, you can skip this step if your existing node version is greater than 10.
-
Git
Make sure to have the Git installed & running on your computer. If you already have installed git on your computer, you can skip this step
Installation
To setup the admin theme, follow below-mentioned steps:
-
Install Prerequisites
Make sure to have all above prerequisites installed & running on your computer
-
Install Dependencies
Open your terminal at the root directory of the project, go to your folder and enter the command
npm install. This would install all the required dependencies in thenode_modulesfolder.
After you finished with the above steps, you can run the following commands to run the project locally or build for production use:
| Command | Description |
|---|---|
composer install
|
To add Laravel packages defined in composer.json file. |
npm run dev
|
To compile all assets files like SCSS, JS and will copy all images into the public directory. |
php artisan serve
|
The development server is accessible at http://localhost:8000. |
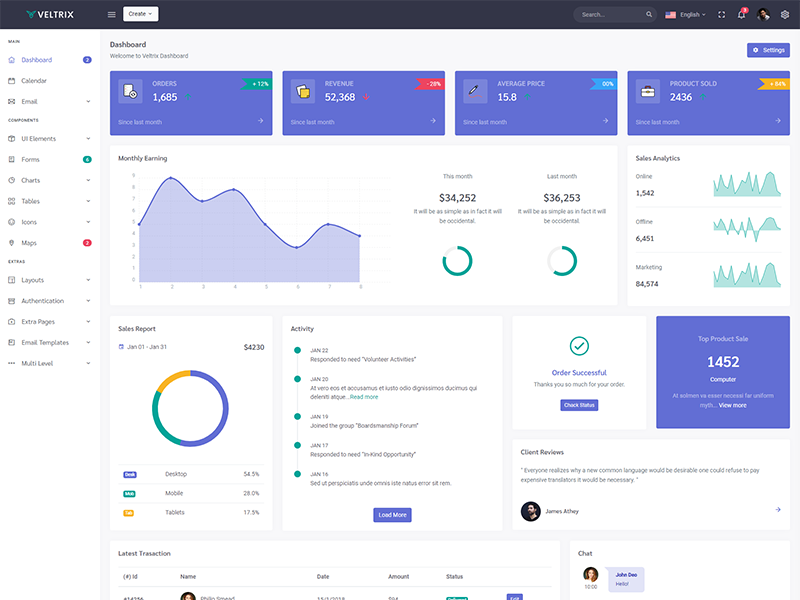
Layouts
Veltrix has 7 different layouts. You can launch your new website in any layouts quickly. You can change any layout in less then a minute without changing any CSS and JS files!
Vertical
How to add new menu items/change menu items?
In order to add, change or remove menu items from the left side navigation, simply edit in file resources/views/layouts/sidebar.blade.php.
How to change width?
In order to change the width of left side navigation bar, open a file
resources/views/scss/_variables.scss and change the value of variable $sidebar-width. The default value is set to 250px.
How to use pre-built layouts?
Each of the layout options are provided as below with steps you would need to perform in resources/views/layouts/master.blade.php:
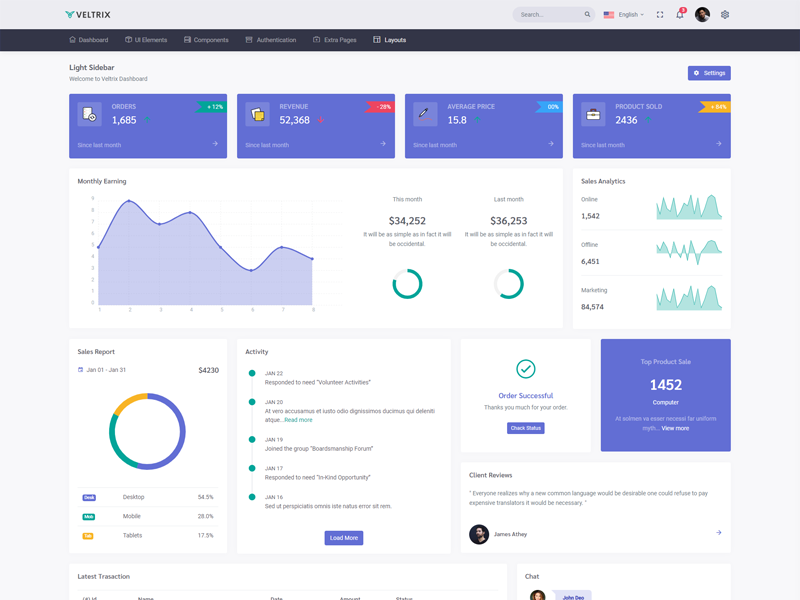
Light Sidebar & Topbar Dark
Remove data attributedata-sidebar="dark" body element to have light sidebar. Add data attribute data-topbar="dark" body element to have dark topbar.
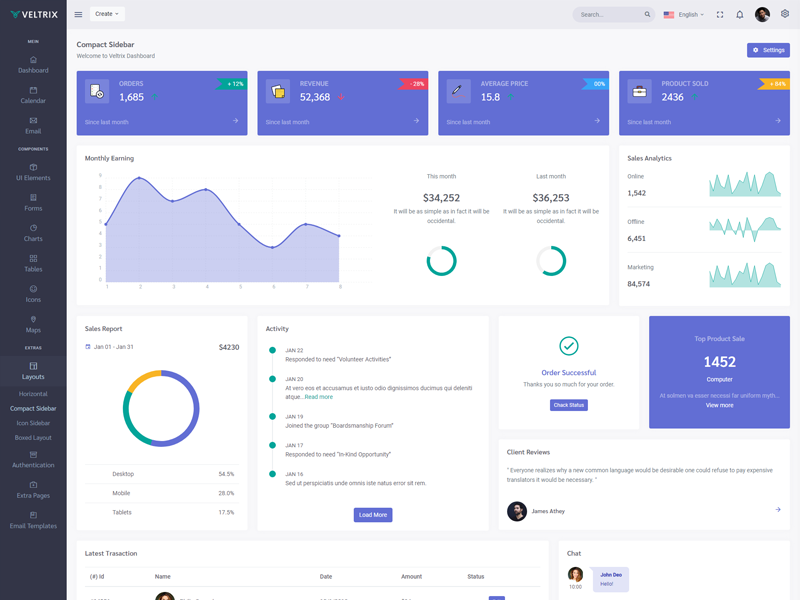
Compact Sidebar
Keep your body element with data attributedata-sidebar-size="small" E.g. <body data-sidebar-size="small"> to have small sidebar.
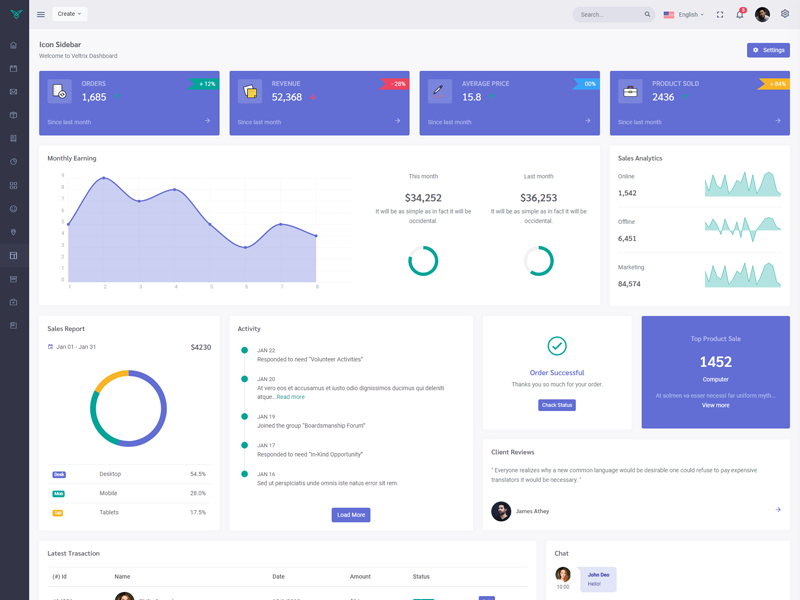
Icon Sidebar
Keep your body element with classvertical-collpsed" E.g. <body class="vertical-collpsed"> to have icon sidebar.
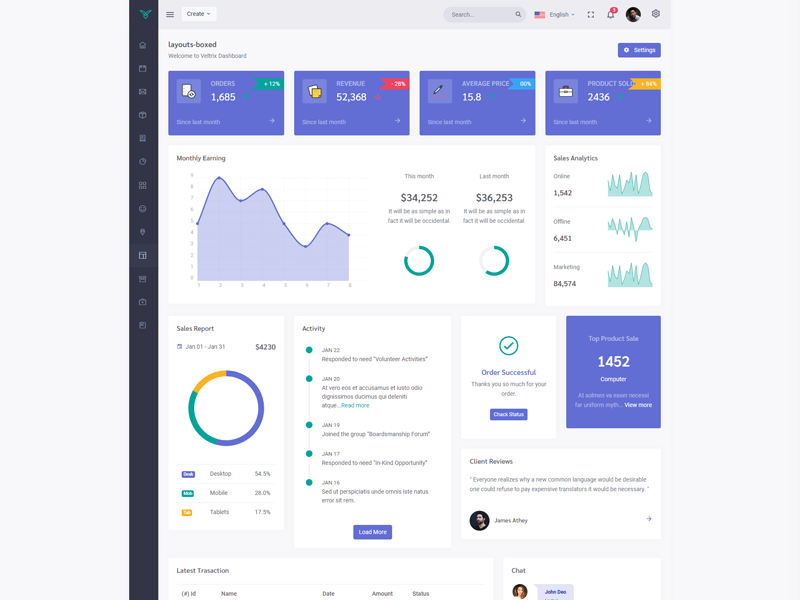
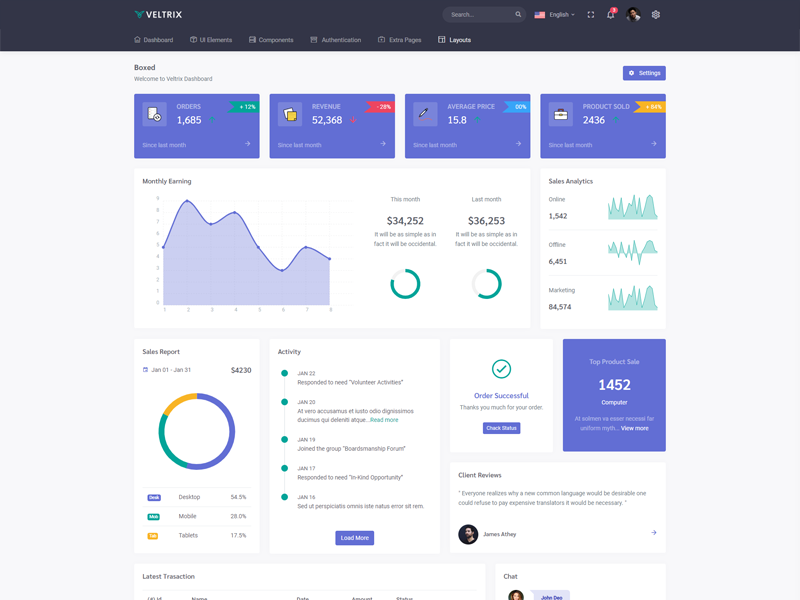
Boxed Layout
Keep your body element with classvertical-collpsed and data attribute data-layout-size="boxed" data-keep-enlarged="true" E.g. <body class="vertical-collpsed" data-layout-size="boxed" data-keep-enlarged="true"> to have boxed layout with icon view sidebar.
Preloader
In order to add pre-loader in your page, include following html afterbody element.
<div id="preloader">
                                                <div id="status">
                                                    <div class="spinner-chase">
                                                        <div class="chase-dot"></div>
                                                        <div class="chase-dot"></div>
                                                        <div class="chase-dot"></div>
                                                        <div class="chase-dot"></div>
                                                        <div class="chase-dot"></div>
                                                        <div class="chase-dot"></div>
                                                    </div>
                                                </div>
                                            </div>
Horizontal
If you would like to have Horizontal Menu (or Topnav) based layout, simply use horizontal folder or copy paster resources/views/layouts folder from horizontal directory.
In order to add, change or remove any ui elements from the top bar, simply edit in
file resources/views/layouts/hor-menu.blade.php.
How to use pre-built layouts?
Each of the layout options are provided below with steps you would need to
perform in resources/views/layouts/master.blade.php:
Topbar Light
Keep your body element with data attributedata-topbar="light" data-layout="horizontal" E.g. <body data-topbar="light" data-layout="horizontal"> to have light topbar and dark menubar.
Boxed Layout
Keep your body element with data attributedata-layout-size="boxed" data-layout="horizontal" E.g. <body data-layout-size="boxed" data-layout="horizontal"> to have boxed layout.
Preloader
In order to add pre-loader in your page, include following html afterbody element.
<div id="preloader">
                                                <div id="status">
                                                    <div class="spinner-chase">
                                                        <div class="chase-dot"></div>
                                                        <div class="chase-dot"></div>
                                                        <div class="chase-dot"></div>
                                                        <div class="chase-dot"></div>
                                                        <div class="chase-dot"></div>
                                                        <div class="chase-dot"></div>
                                                    </div>
                                                </div>
                                            </div>
Dark
In order to have dark mode enabled, replace the reference of bootstrap.min.css stylesheet file to bootstrap-dark.min.css and app.min.css to app-dark.min.css in the resources/views/layouts/head.blade.php only.
RTL
In order to have RTL mode enabled, replace the reference of app.min.css to app-rtl.min.css in the resources/views/layouts/head.blade.php only.
Plugins
Here is the list of Plugins (with a link to the official documentation) which helped us to make admin better.